Long time no post. So, I got a Raspberry Pi --- the first thing I did? Get some emulators running to play some old games, cool! But, next thing, of course I need to make it play some beats. So, "project with no name" was conceived, the goal - to build a basic sequencer with the Pi.
I decided to use Python, never used it before so a chance to learn, and I needed to know if it could keep in time, before going lower level. Turns out the PyGame timer is accurate enough for me, so far, and I got it playing a 4/4 kick drum easily enough.
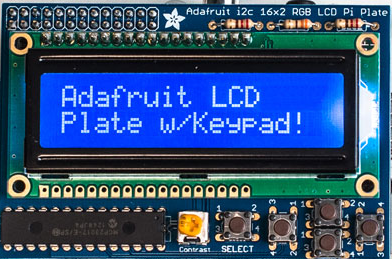
Then I figured I would like to run with a custom display, no screen to cart about, so I got hold of a 16x2 LCD with basic controls, from the helpful guys at Proto-PIC. In not alot of time at all I had a basic drum machine, using the built in controls on the LCD board to navigate and insert/delete kick notes along a 16 step timeline.
Being a fan of the TB-303 and 909 acid combo and having some great sample packs of individual hits, I decided the project would be based around those samples. The 16x2 LCD drove the decision to have 16 steps, and I've decided on 4 tracks, 1 = kicks, 2 = snare/clap, 3 = hats/cymbals, 4 = acid.
But, the clicky cursors on the LCD board while neat, and possibly useful for a future project, made entering notes a bit of a chore and so I expanded the project to include a custom panel using my makeymakey. This can have up to 18 inputs, so my restrictions (which help me creatively, to actually get stuff done) are set.
"Insert project name here"
- 4 track, 16 step, acid/303/909 sample sequencer.
- Software written in Python running on Raspbian.
- 16x2 LCD display.
- 18 key inputs (12 will be each note of an octave, leaving 6 to play with for functions)
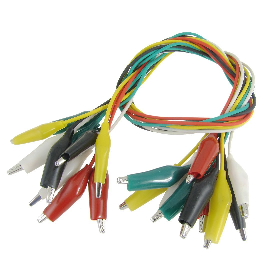
I have a couple of other ways to extend that with FX but for now I need a prototype before getting too carried away. Ordered about 20 switches and 40 cables online, on their way here now. Meanwhile, back to the software...